
AQUILA - Microsoft Office 365 Integration

Integration RequirementsOverview

PleaseThis savedintegration with Microsoft Office 365 supports the ingestion of user, administrator, system, and providepolicy-related thisevents. valuesIt leverages the Office 365 Management Activity API to Cytechretrieve Supportactivity Team.logs from both Office 365 and Azure Active Directory (Azure AD).

DirectoryThis (tenant)guide ID:outlines

the

Applicationrequired (client) ID:

Client Secret Value:

Stepssteps to Verifyintegrate Client’swith Microsoft Office 365 Integration.and Azure AD using the Office 365 Management Activity API. It covers application registration, permission setup, audit log configuration, and retrieval of key credentials for secure API access.


Summary of Actions Required:

  1. Register an Application in Microsoft Entra ID (formerly Azure AD) to establish identity and enable API access.

  2. Configure API Permissions for Microsoft Graph and Office 365 Management APIs to authorize required data access.

  3. Grant Admin Consent to ensure permissions are applied tenant-wide.

  4. Collect Key Credentials such as Application ID, Tenant ID, and Client Secret for use in your integration.

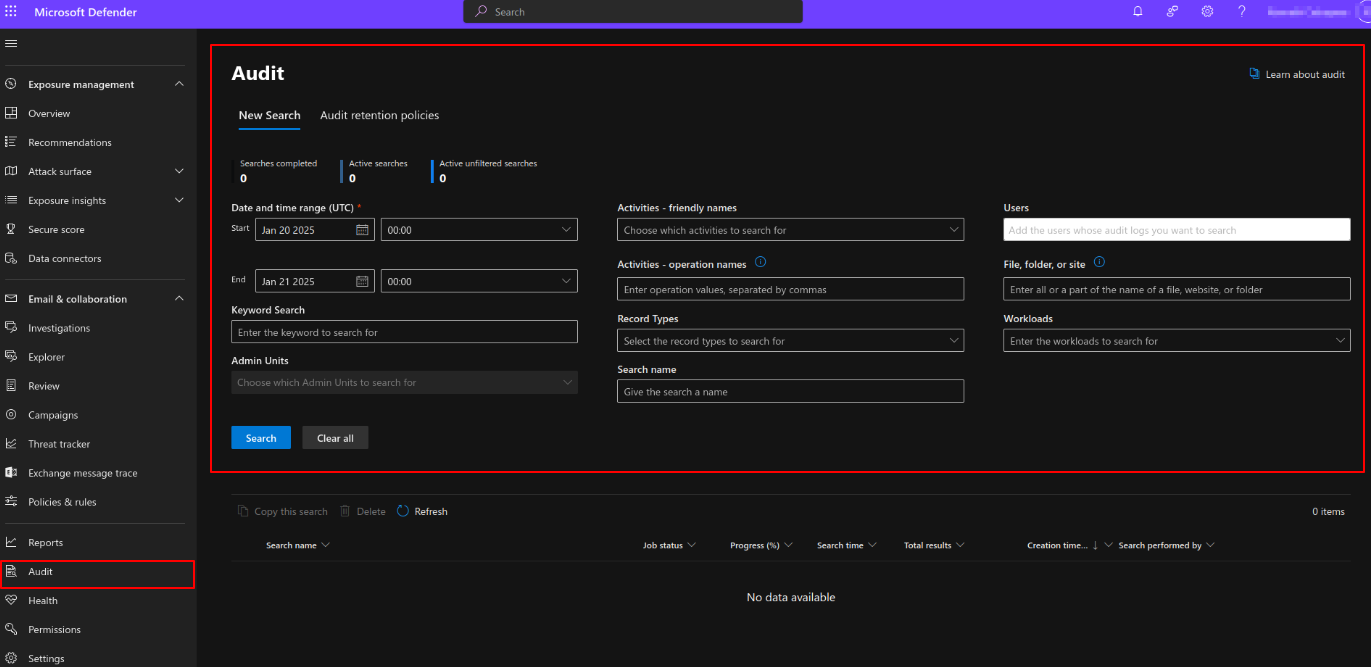
  5. Verify if Unified Audit Logging is Enabled in Microsoft 365 to ensure activity data is available via the API.


Action Items Before Proceeding:

  • Ensure you have Global Admin access to your Azure/Microsoft 365 tenant.

  • Prepare to create or use an existing App Registration in Microsoft Entra ID.

  • Confirm that Unified Audit Logging is enabled; otherwise, prepare to activate it via the Microsoft 365 portal or PowerShell.

  • Take note of your admin email address for PowerShell commands if using CLI to manage audit log settings.


Steps to Configure Office 365 Integration for the Client

Step 1: Check Microsoft Entra ID - App Registration

Register Your Application in Microsoft Entra ID:

  • How to Locate: 

    • Navigate to Azure Active Directory > App registrations.

    • Check for an existing app registration. 

  • How to Create: 

    • Click New Registration.

    • Provide a Name for the application.application, we can suggest "CyTechAQUILA-Monitoring". 

    • Click Register. 

  • Step
      2:
    • API Permissions

    ChooseMicrosoft Graph API Permissions:

    SupportedIf AccountUser.Read Typespermission (typicallyunder “AccountsMicrosoft inGraph tile is not added by default, add this organizational directory only”). permission.

      • Enter a Redirect URI (if required). 

      • Click Register. 


    Step 2: Check API Permissions

    Microsoft Graph:

    • How to Locate: 

      • Navigate to App registrations in the Azure Portal.

      • Select yourthe app,App you just created, then go to API Permissions. 

    • How to Add: 

  • Search
  • for
    Microsoft
      Graph.
      • Click Add a permission. 

      • Select Microsoft Graph > Delegated permissions. 

      • Search for and add User.Read. 


    Office 365 Management API Permissions: 

      • HowSearch tofor Locate:Office 365 Management APIs and add the required permissions. 

      • In Application Permissions, look for permissions such as:permissions.

      • Under ActivityFeed select: ActivityFeed.Read 

      • Optionally, select ActivityFeed.ReadDLP to read DLP policy events.

      • ActivityFeed.Read 

      • ActivityFeed.ReadDLP 

      • ActivityReports.Read

      • ServiceHealth.Read 

    • How to Add: 

      • Click Add a permission. 

      • Select APIs my organization uses. 

      • Search for Office 365 Management APIs and add the required permissions. 


    Grant Admin Consent: 

    • How to Perform: 

      • In API Permissions, click Grant admin consent for <tenant name>. 

      • Confirm the action. 

      • Confirm the action. 


    image.png

    Step 3: Verify Integration Requirements for Office 365 

    Application (Client) ID: 

    • How to Locate: 

      • Go to App registrations > Select your application.application.

      • Copy the Application (client) ID from the overview page. 


    Directory (Tenant) ID: 

    • How to Locate: 

      • In the Azure Portal, navigate to Azure Active Directory > Overview. 

      • Copy the Directory (tenant) ID. 

    Copy the Directory (tenant) ID. image.png


    Create New Client Secret (Value): 

    • How to Create: 

      • In App registrations > Select your application, go to Certificates & secrets.

      • Click New client secret.

      • Add a description and expiration period, then click Add. 

      • Copy the Value (displayed only once). 

      • Copy the Value (displayed only once). 


     image.png

    Step 4: EnableVerify Unified Audit Logging is Enabled

    Unified Audit Logging must be enabled before accessing data via the Office 365 Management Activity API. 

    Method 1: Using Microsoft 365 Security & Compliance Center 

    1. Sign in to Microsoft 365:

    1. Access the Security & Compliance Center:

    1. Navigate to Audit Log Search:

      • In the Security & Compliance Center, go to Search in the left-hand menu and click on Audit log search. 

    1. Check Audit Log Status:

      • If you see an option to search the audit log, then audit logging is already enabled. 

      • If you see a banner that says "Start recording user and admin activity" or a prompt to enable auditing, it means that audit logging is not yet enabled. 

    image (2).png

    1. Enable Audit Logging (if needed):Logging: 

      • If audit logging is not enabled, you can click on the prompt to enable it. This will enable auditing for all activities within your Microsoft 365 environment. The process may take a few hours to be fully operational. 

    Method 2: Using Powershell 

    1.Install and Update Exchange Online Management Module 

    • Open PowerShell as Administrator. 

    • Install the module: 

    -->Install-Module -Name ExchangeOnlineManagement

    • UpdateOpen PowerShell as Administrator. 

    • Install the module: 

    -->Update- 

    Install-Module -Name ExchangeOnlineManagement

    • ImportUpdate the modulemodule: 

    Update-Module -Name ExchangeOnlineManagement
    • -->Import-ModuleImport ExchangeOnlineManagementthe module 

    Import-Module ExchangeOnlineManagement 

    2.Connect to Exchange Online 

    • Run the following command: 

    -->

    Connect-ExchangeOnline -UserPrincipalName <admin-email-address>

    • Replace <admin-email-address> with the admin email. Authenticate if required. 

    3.Check and Enable Unified Audit Logging 

    Check Status:

    • Run: 

    -->

    Get-AdminAuditLogConfig | Format-List UnifiedAuditLogIngestionEnabled

    • If the output is True, Unified Audit Logging is already enabled. 

    Enable Logging (if needed): 

    • If the output is False, enable it: 

    -->

    Set-AdminAuditLogConfig -UnifiedAuditLogIngestionEnabled $true

    • Verify again: 

    -->

    Get-AdminAuditLogConfig | Format-List UnifiedAuditLogIngestionEnabled 

     AQUILA – Microsoft 365 Integration Requirements

    Please saved and provide this values to AQUILA Support Team.

    1. Directory (tenant) ID: 
    2. Application (client) ID:
    3. Client Secret Value: 

    AQUILA – Microsoft 365 Integration

    1. Log in to AQUILA click here - CyTech - AQUILA. Choose Cyber Monitoring and click the small arrow icon to redirect you to the Cyber Monitoring Dashboard.

    image.png

    2. In the dashboard, choose Cyber Incident Management (SIEM and XDR).

    image.png

    3. Navigate through the leftmost top and click Cyber Incident Monitoring.

    image.png

    4. Navigate through Settings>Log Source>Search Bar>Add to Agent.

    image.png

    Disconnect5. fromChoose Exchangeyour OnlineLog Collector. (If you not yet installed your Log Collector please refer to this link - Log Collector Installation.)

    image.png

    6. In the integration settings follow the instructions given below.

    • Click the drop arrow to display the contents needed for the integration setup.
    • In the Office 365 logs section > Disable > Collect Office 365 audit logs

    image.png

    • Scroll

      down and go to Microsoft Office 365 audit logs section.

    • Input the credentials for Directory(tenant) ID, Application(client) ID and the Client Secret Value.
    • Run:Finally, click Next to install the log source integration. 

    image.png

    -->Disconnect-ExchangeOnline7.
    Wait for the Successfull window to display, this will confirm the successfull integration.

    image.png


    If you need further assistance, kindly contact our support at support@cytechint.com for prompt assistance and guidance.