
AQUILA Deployment Guide: EDR Installation via AD GPO with Scheduled Task
Step 1: Log in to the Windows Server
-
Sign in with an Administrator account to ensure you have the required permissions.
-
Confirm you can access Active Directory Users and Computers (ADUC) and Group Policy Management.
Step 2: Prepare Deployment Folders
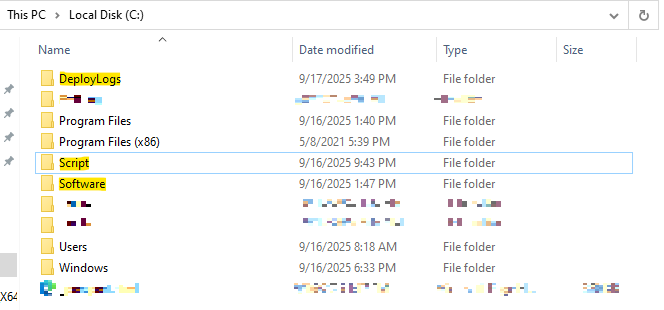
On the server, create the following directories in the system drive (C:\):
-
C:\Script → Stores the PowerShell script (
DeployEDR.ps1) -
C:\Software → Stores the installer (
Aquila Agent.msi) -
C:\DeployLogs → Stores deployment logs from each client computer
Step 3: Configure Folder Sharing and Permissions
-
Right-click the folder → Properties → Sharing tab → Advanced Sharing.
-
Check Share this folder.
-
Click Permissions:
-
Remove Everyone (optional).
-
Add Domain Computers → grant Read.
-
-
Click OK → Apply.
-
Go to Security (NTFS Permissions) → Edit:
-
Ensure Domain Computers have:
-
✔ Read & Execute
-
✔ List Folder Contents
-
✔ Read
-
-
-
Right-click the folder → Properties → Sharing → Advanced Sharing.
-
Check Share this folder.
-
Click Permissions:
-
Add Domain Computers → grant Change (or Full Control).
-
-
Click OK → Apply.
-
Go to Security (NTFS Permissions) → Edit:
-
Ensure Domain Computers have:
-
✔ Modify
-
✔ Read & Execute
-
✔ List Folder Contents
-
✔ Write
-
-
Step 4: Place the Required Files
The following deployment files are provided by our team and must be placed in the correct folders:
-
Copy Aquila Agent.msi to
C:\Software. -
Copy DeployEDR.ps1 to
C:\Script.